
Dream of having a magical star ceiling in your home? A starlight ceiling can transform any room into a special space. It creates a calming atmosphere with beautiful ceiling starry lights that mimic the night sky.
Setting up a star roof might seem hard, but it's easier than you think. This guide will help you create your own ceiling lighting stars step by step.
First, pick the right tiles for your star ceiling light project. You have three main choices:

These tiles are great for bedrooms and home theaters. They reduce noise and echo. This makes movies and music sound better. These tiles are also easy to install. You can cut them to fit your space. They are perfect for DIY projects.
These tiles are strong and safe. They have excellent fire resistance. This means they won't burn easily. They work well in bathrooms and kitchens. They resist water and won't rust. The fastener system makes installation simple.
These tiles look the most beautiful. You can customise them with any design. Create a galaxy ceiling or your own night sky ceiling. They offer the best visual effects for a starry ceiling.

Next, choose your lighting system. We recommend multi-color lights instead of single color. A fiber optic star ceiling uses tiny lights to create stars. The fiber optic ceiling stars look real. They can twinkle like real stars.
An LED star ceiling lets you change colors. You can use a remote control. Choose blue for calm, red for energy, or rainbow colors for fun. Both systems create beautiful stars on ceiling. They make your ceiling with star lights magical.
Before you start, check your ceiling type. This is very important.

If you have a plasterboard ceiling, use the traditional method. Create a frame below your existing ceiling. Then install the tiles on this frame. This method hides all wires. It looks clean and professional.
If your ceiling is unfinished, use the integrated method. Install the tiles directly onto the ceiling frame. This method works best for new rooms. It makes maintenance easier.
Creating a star light ceiling is a fun project. It can change the feel of any room. Choose tiles that fit your needs. Pick multi-color lights for the best effect.
Check your ceiling type before starting. Follow the installation steps carefully. Soon you'll have a amazing optical fiber star ceiling to enjoy every day. Your new star lights for ceiling will bring magic and wonder to your home.


 Giant Technology cordially invites you to participate in the 26th China International Optoelectronic Exposition
 Nanjing Giant unveiled at the 2025 Guangzhou International Lighting Exhibition to experience light and shadow aesthetics
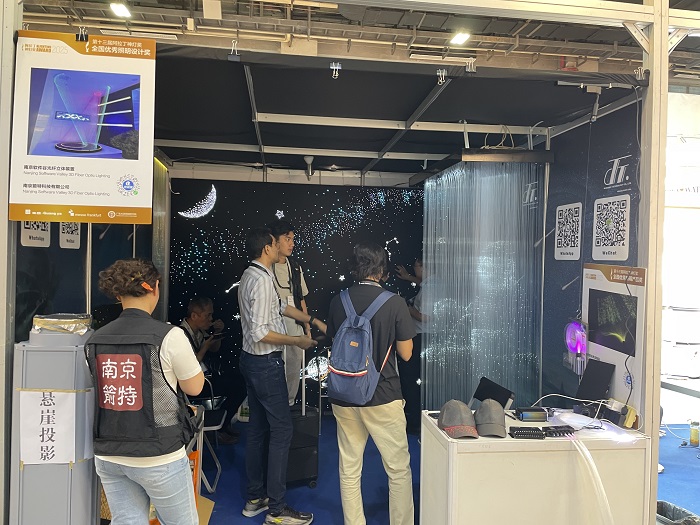
 Nanjing Giant Technology won the 13th Alighting Award "National Excellent Lighting Design Award"


 IPv6 network supported
